You are likely to hear a number of different answers to this question. They are going to range from “it can’t be done” all the way to “it is an easy peasy ten-minute job” and everything possible answer in-between those two extremes.
The truth is, regardless of the type of damage – mechanical or electronic – it will be anything but a ten-minute job. However, if you are confident that you have what it takes to get this job done correctly, be prepared. You are going to invest a fair amount of time and effort.
So, the answer to the question: Can a regular person repair a physically damaged hard drive in a home environment?
Is YES.
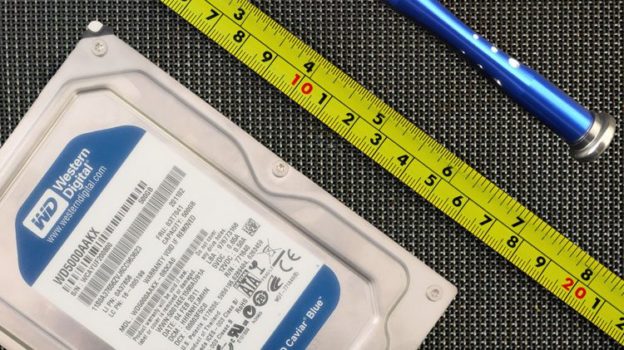
You have to have the right tools and an anatomical understanding of hard drives, but if you meet these requirements, it is possible. In fact, if you are trying to learn data recovery basics on hard drives, this blog can be a good beginning point for you.
This is NOT a tutorial, but it will contain some insights on what you will have to face when dealing with mechanical failed clicking drives.
Here are the steps and measures typically followed by industry professionals:
- 1. Diagnose & Identify The Cause
- 2. Locate and Match Donor Drive(s)
- 3. Execute Necessary Replacements
- 4. Image The Hard Drive
- 5. Extract Data
Diagnose & Identify The Cause
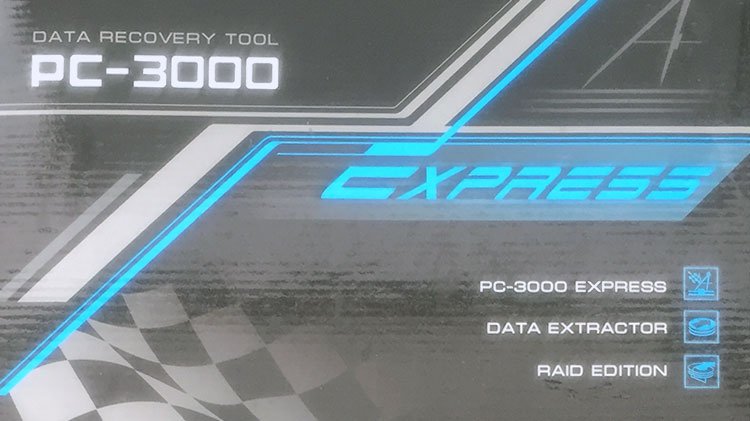
A few years ago, when an older hard drive clicked, it almost always spelled either a failed HSA or HGA. In other words, a mechanical failure. In the present day, a clicking hard drive may also be caused by a failed or failing PCB, which considered to be an electronic failure. So, being able to properly identify the cause would be your first logical step. Tools such as HDDScan or HDTune are reasonably good – and free to use. However, they only provide access to the S.M.A.R.T of the disk and that is of little use with severe physical failures as none of the programs will be able to recognize the disk. You will require much more sophisticated equipment. The PC3000 utility will properly diagnose the hard drive issue.
So, let’s say the drive we are working on happens to be clicking thanks to a failed HSA/HGA and needs to be replaced. Which happens to be the most common physical failure type with most hard drives in the world.
Locate And Match Donor Drive(s)
The task of locating and matching a proper donor drive is NOT easy and it is the most important of all steps. Without a proper match, your HSA will not adapt regardless of how careful you are or how hard you try. Every manufacturer has their own guidelines and specifications to match a good donor drive. There is no way to guarantee 100% compatibility, but by following these specific guidelines you will increase the odds in your favor of finding a suitable donor drive. That being said, there are times when following these guidelines results in an unsuitable donor. A rule of thumb, locating two or three sets, will increase your possible odds of at least one working up to 80%. Donors can be expensive, depending on the type you are trying to match, so be prepared to invest in this recovery if you are serious about it.

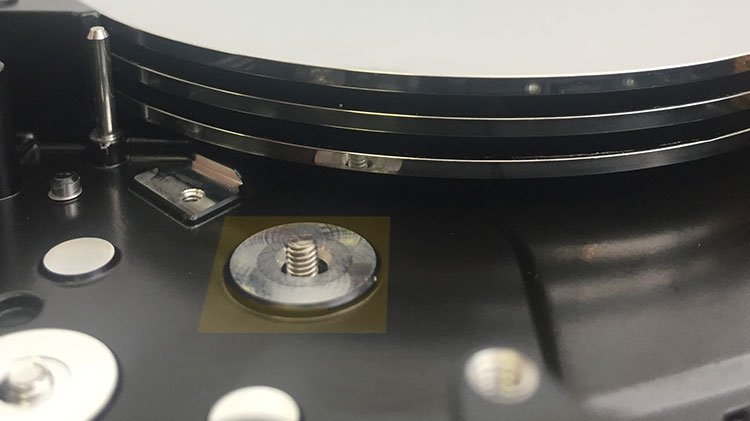
Execute Necessary Replacements
Now that you have located a donor drive, it is time to get those faulty parts replaced. In this example, we are replacing the HSA as a complete unit. It is fact that a clean room facility is a must in any data recovery process. However, since our example is related to home replacement, a few cans of pressurized air should be sufficient and an extra pair of hands (a friend) to assist with dusting off particles as the replacement process proceeds.

There are some tools essential in permitting you to complete a successful swap. They include surgical level dust-free gloves, precision tweezers and a set of precision screwdrivers. You local Home Depot will have these items or you can turn to Amazon or eBay for them. Because not all donor HSAs will be compatible, you can attempt a swap with a second one if the first did not succeed – that is if you were able to locate more than one suitable drive match. Above all else, do not be discouraged and try another drive, if you have one or two. One out of the three of them should match 90% of the time. Once you replace the HSA, it is time to image your hard drive.
TIP: – In order to increase your chances of a successful swap, try locating similar model dead drives and perform the replacements on them first, so you will at least know what you are up against.
We do not recommend performing these tasks in a home environment or if you do not have knowledge or expertise in hard drive recovery.
So, to prevent appearing to encourage this activity, I am not going to provide step-by-step instructions at this point in time. I may in the future if there are enough requests for it. I also understand that not everyone can afford the services of a data recovery specialist. However, if you are able to provide proof of low family income and official government notice of assessment, please contact us directly. We may be able to provide you with data recovery at no cost or a greatly reduced cost. Contact us for further details.
Image The Hard Drive
The majority of industry professionals will attempt to image the hard drive immediately after the HSA swap. It is also the one step that should be followed in order to increase the chances of a successful recovery. If the heads weaken again and fail as you are scanning the drive for data before copying anything, you will have to change them again. This means another set and more of an investment on your part. So, to prevent taking chances, imaging the disk should be a high priority. There are several online tools that are designed to help you clone your disk.
Perform Data Recovery
Now that you have a sector-by-sector clone of your disk, you are ready to attempt to recover the data from it. As it is no longer a physical matter, any software capable of searching a cloned image of the drive will be able to recover data from it. R-Studio is a good choice, even within industry professionals and it is also affordable. There are also free tools that will recover data from a cloned image including TestDisk. Remember, you will have to mount your image first as a logical drive on your computer. Or if you cloned your hard drive onto another working hard drive, you will have to recover data directly from it.
Good luck!